Indie game designer
You need a readable prop concept for a blockout or early environment test.
Prioritize silhouette, scale, recognizable features, and a consistent style before production cleanup.
kaedim 3dBeginner workflow
This kaedim tutorial for beginners shows how to move from a clear reference and useful prompt to a reviewable 3D asset. You will learn what to prepare, where first attempts commonly fail, and how to improve each iteration without losing the original design intent.

Use these nearby guides to compare the workflow with the platform, model types, and example outputs you may encounter.
A strong first result depends more on the input brief than on a clever prompt. Gather the following before you begin, and treat missing information as a risk to resolve early.
A single reference may show the front but hide the back, underside, thickness, or attachment points. The result can look plausible while remaining incomplete for production.
WorkaroundAdd multiple views, a sketch, or written notes describing hidden surfaces and approximate proportions.
A generated asset can capture the silhouette and materials without matching exact dimensions, tolerances, topology, or manufacturing requirements.
WorkaroundUse the result for concept development, blockouts, and visual review unless a specialist verifies the final asset.
Words such as realistic, stylized, simple, detailed, game-ready, and product-ready can pull the output in different directions.
WorkaroundName the primary purpose first, then specify style, shape, materials, scale, and any features that must remain visible.
Small changes may alter proportions, symmetry, accessories, or material boundaries that were correct in an earlier version.
WorkaroundCompare each revision with the reference and keep the strongest version rather than accepting the newest output automatically.
Work in short passes. Each pass should answer one question, so you can tell whether a change improved the model or merely changed it.
Choose the main subject, collect the clearest reference images, and write a compact brief. State the intended use, visual style, major dimensions or proportions, materials, and the details that cannot be omitted.
Ask for the overall form before requesting tiny surface details. Check the silhouette, relative scale, major components, and visual balance first; a detailed model with the wrong structure is harder to repair.
Compare the result against the brief from several angles. Note what is correct, what is missing, and what changed unexpectedly, then make one focused revision before starting another broad redesign.
Decide whether the model is a concept, presentation visual, scene element, or production candidate. Rename versions, preserve the source references, and arrange a human review before the asset enters a larger pipeline.
The fastest way to improve a beginner workflow is to diagnose the failure instead of adding more adjectives to the prompt.
The after state comes from clearer priorities, not detail alone. Fix the silhouette and required features first, then refine materials and small accents.
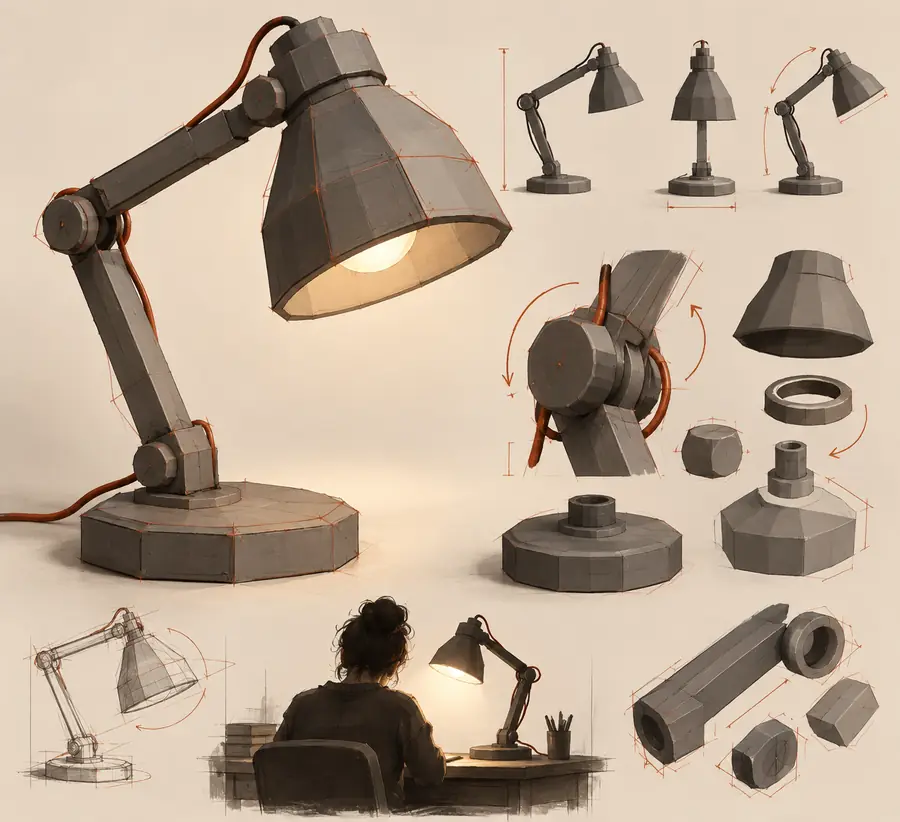

Once the basic loop feels predictable, use a more deliberate comparison between the brief, the reference, and the output. The table below separates useful beginner habits from stronger review practice.
Quick beginner pass
Controlled refinement pass
Quick beginner pass
Use one clear image to establish the subject.
Controlled refinement pass
Combine views, sketches, and notes to resolve hidden areas.
Quick beginner pass
Describe the object in one broad sentence.
Controlled refinement pass
Separate purpose, silhouette, materials, proportions, and must-keep details.
Quick beginner pass
Judge the model mainly by visual appeal.
Controlled refinement pass
Check silhouette, component placement, scale relationships, and omissions.
Quick beginner pass
Change several instructions at once.
Controlled refinement pass
Make one meaningful change per iteration so its effect is visible.
Quick beginner pass
Add surface detail before structure is stable.
Controlled refinement pass
Lock the primary form before refining seams, texture, and small accessories.
Quick beginner pass
Assume a polished image means a finished asset.
Controlled refinement pass
Match acceptance criteria to the intended use and request human review when accuracy matters.
Quick beginner pass
Keep only the latest result.
Controlled refinement pass
Preserve references, prompts, revisions, and the reason each version was kept or rejected.
These measurable checkpoints come from the Kaedim site plan and help frame the workflow around the available product surface rather than invented performance claims.
Different users should judge the same model against different standards. Choose the closest scenario before deciding whether another revision is necessary.
You need a readable prop concept for a blockout or early environment test.
Prioritize silhouette, scale, recognizable features, and a consistent style before production cleanup.
kaedim 3dYou are exploring a physical object before industrial design decisions are final.
Use several references and written constraints, then have a designer verify proportions and functional assumptions.
kaedim examples 2022You need a model for a presentation, scene, or campaign image rather than fabrication.
Focus on composition, materials, camera-facing details, and the visual story the asset needs to support.
kaedim onlineYou want to understand what a generated model can and cannot contribute to a real workflow.
Start with a simple subject, document each revision, and read what is Kaedim before setting an unrealistic quality bar.
what is kaedim 3d modelsYou now have a repeatable path: define the subject, prepare references, generate a structural first pass, inspect it from multiple angles, and refine one issue at a time. Keep the intended use visible throughout the process so the final review is based on usefulness rather than novelty.
Start building a 3D modelThese beginner questions address the practical decisions that usually come up before the first serious modeling attempt.
Prepare a clear subject description, reference images, and a short note about the intended use. Include important proportions, materials, visible features, and any hidden surfaces that a single image cannot show.
Start with the object and its purpose, then describe the silhouette, major parts, style, materials, and must-keep details. Avoid stacking contradictory goals; a focused brief is easier to review and improve than a long list of vague adjectives.
Identify whether the problem is the overall silhouette, the placement of a major component, the material treatment, or a missing feature. Fix the highest-level problem first and make one focused revision so you can see whether the change helped.
Not automatically. A generated result may be useful for concepts, blockouts, and visual exploration, but production suitability depends on topology, dimensions, materials, file requirements, and the standards of the receiving pipeline.
Use as many views as needed to remove meaningful ambiguity rather than aiming for a fixed count. A front, side, rear, and detail view can be more useful than many similar images, especially when proportions or hidden parts matter.
Keep the strongest version, record what is already correct, and change one priority at a time. Refining the brief, adding a missing view, or clarifying the intended use can often produce a more useful next pass than simply requesting more detail.